How to Make a Passport Sleeve Wallet
If you don't want to get your passport cover worn out you should definately protect it well.
Therefore, today we'll teach you step by step how to make the perfect sleeve that will fit your travel document. Because, better than buy one, is to create your own using our eco-friendly sustainable natural cork fabrics:
- to draft the pattern you’ll need to mark panel1-length: 10”, height: 7;

- panel 2- length: 10”, height: 4”;

- panel 3- length: 5”, heigth:7” and add slit lines as shown;

- panel 4-length:5”, height:7”, fold half inch seam allowance and add a vertical slit;

- place panel 1 on panel 2 as shown;

- edge the smaller panel and make a stay stitch together;

- make an edge stitch on the folded side;

- cut out a small piece of elastic to add closure;

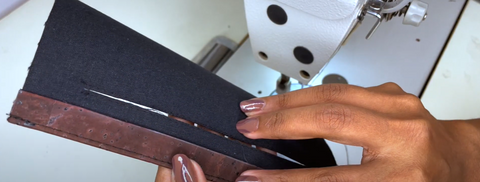
- make an edge stitch and stitch along the slit lines for reinforcement;

- check if your stitch lines are aligned properly as shown;

- similarly stitch panel 4;
- align the panels together and make a stay stitch;

- the panel must look like this post stitching;

- stitch along the corners attaching the panels as shown;

- make sure the panels are neatly aligned and the corners are kept intact;

- attach an elastic if necessary;

- now make a centre stitch line to create a fold line;

- now you are done assembling the panels;

- sandpaper or burnout the edge to get an even finish;

- add a marker line to conceal the white lines;

- add a bonding solution to the edge and let it dry;

- finally finish your product with a suitable edge colour and let it dry;

Your passport sleeve is now ready


Leave a comment